This guide is designed for organizations that have restricted the option to invite external guests to Teams, but still have a need to add external users in a controlled manner. I published a brief blog post on this topic yesterday.
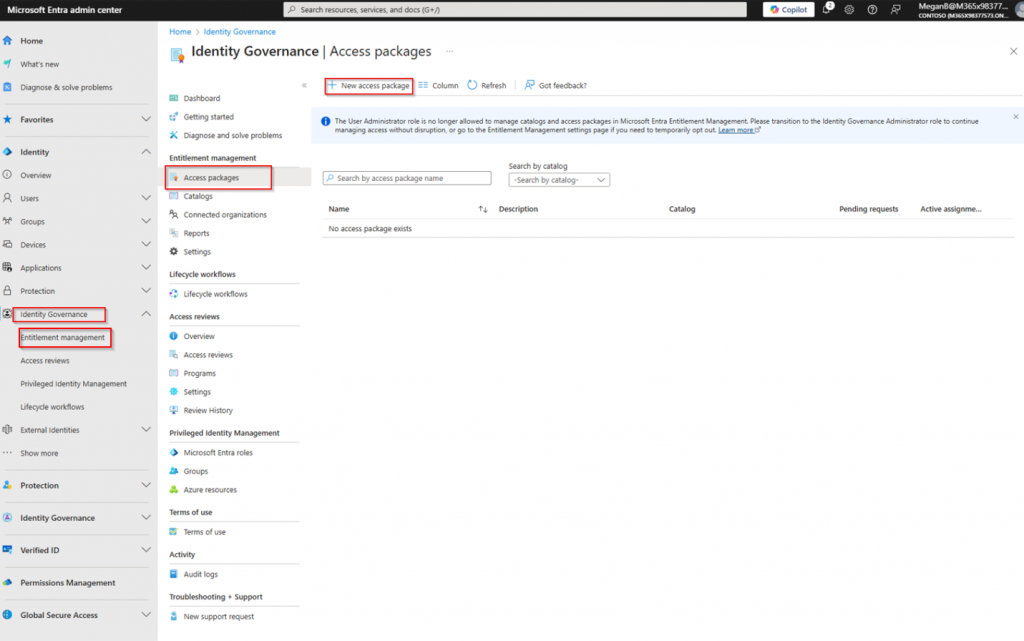
Start by heading over to the Identity Governance section in Entra ID, select Access packages under Entitlement Management and click on New access package.
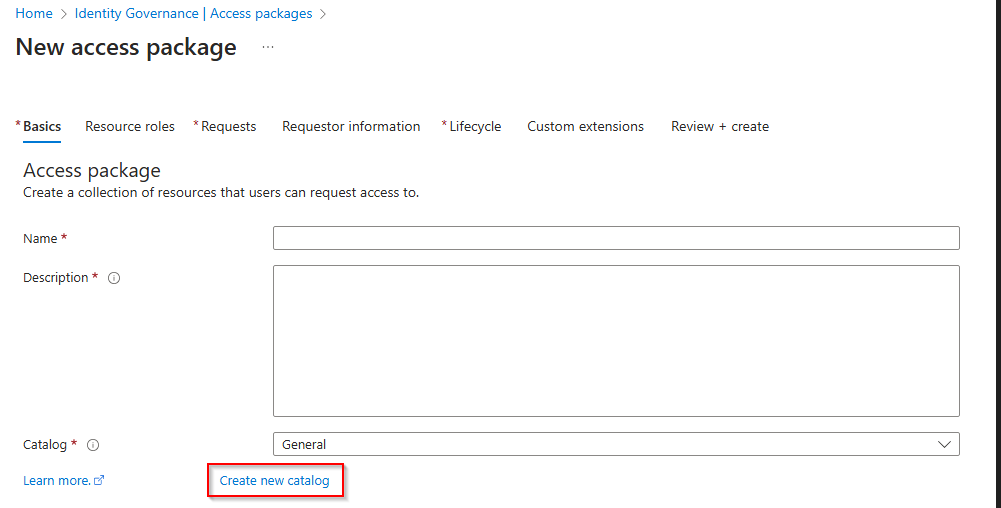
If this is the first time you are creating an access package, you need to first create a catalog that houses the package. It is a good thing to have different catalogs for different things as you can delegate non-administrative users as access package creators in the catalogs. That way you can move task from IT to the line of business, if you are comfortable with it.
We are assuming this is the first access package, so let’s create a new catalog.
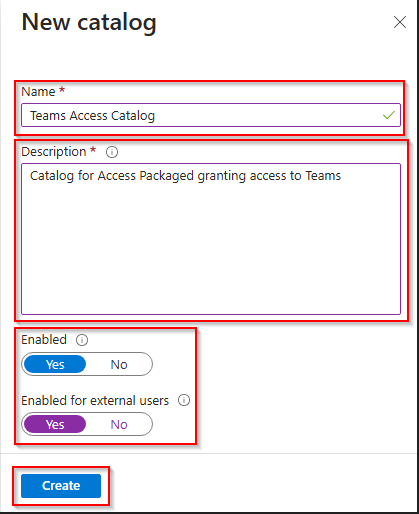
Select a fitting name for the catalog and enter a description so that other people can understand what the catalog is for. Make sure you enable the catalog (this is default) and also enable the catalog for external users as this is for guest to Teams. Then hit Create.
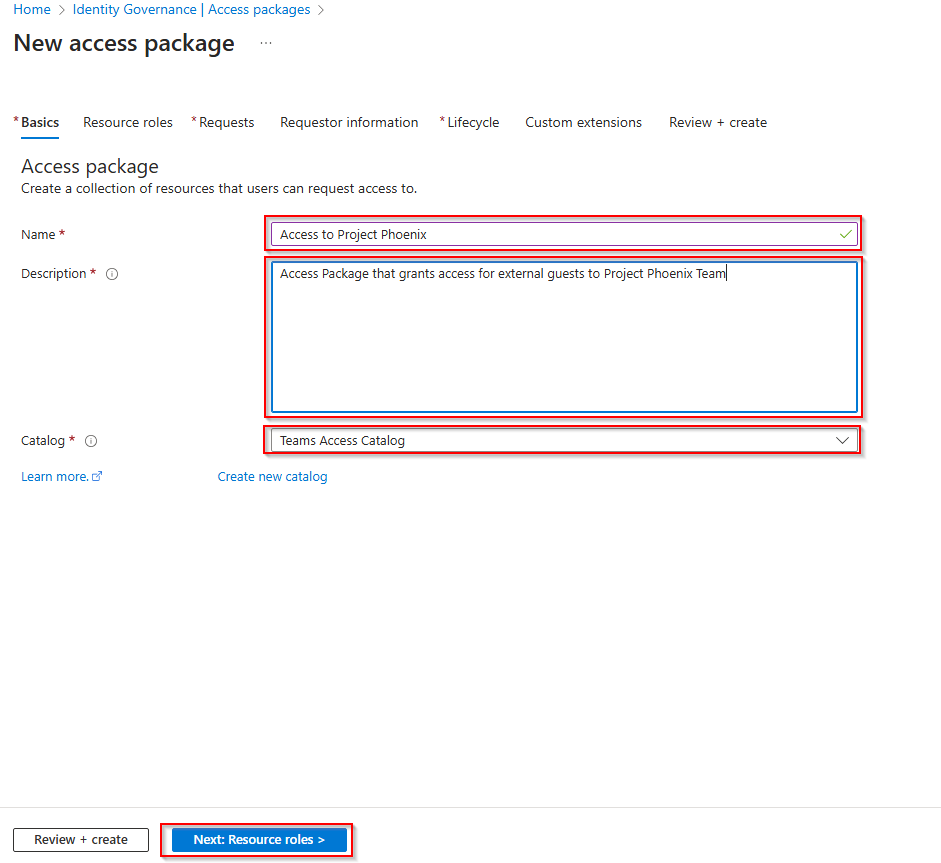
When the catalog is created, its time to name the access package. I normally name the package the same name as the name of the team to make it easier to find it. Adding a description is always good as there might be someone else that needs to work in the same platform. It is also nice for the people taking over your tasks when you move on to other things.
Select the catalog you just created, and move over to Requestor roles.
Here you need to select the team you want to delegate access to with the access package. You need to make sure that you select the “See all Group and Team(s)…” checkmark to be able to search for the team’s name. In this case, we are creating an access package for “Project Phoenix”. So, search for that, and select it.

Select the level of access the package should delegate. You get to choose from either owner or member. Let’s choose member as it is intended for external guests and then move over to Requests.

Now we need to configure the request. To begins with, we will select the audience. In this case, the access package is intended for user that are not in our directory. We then get to chose what type of externa users can use the package. Is is for specific connected organizations, or for any external user? In my example I will use “All users”.
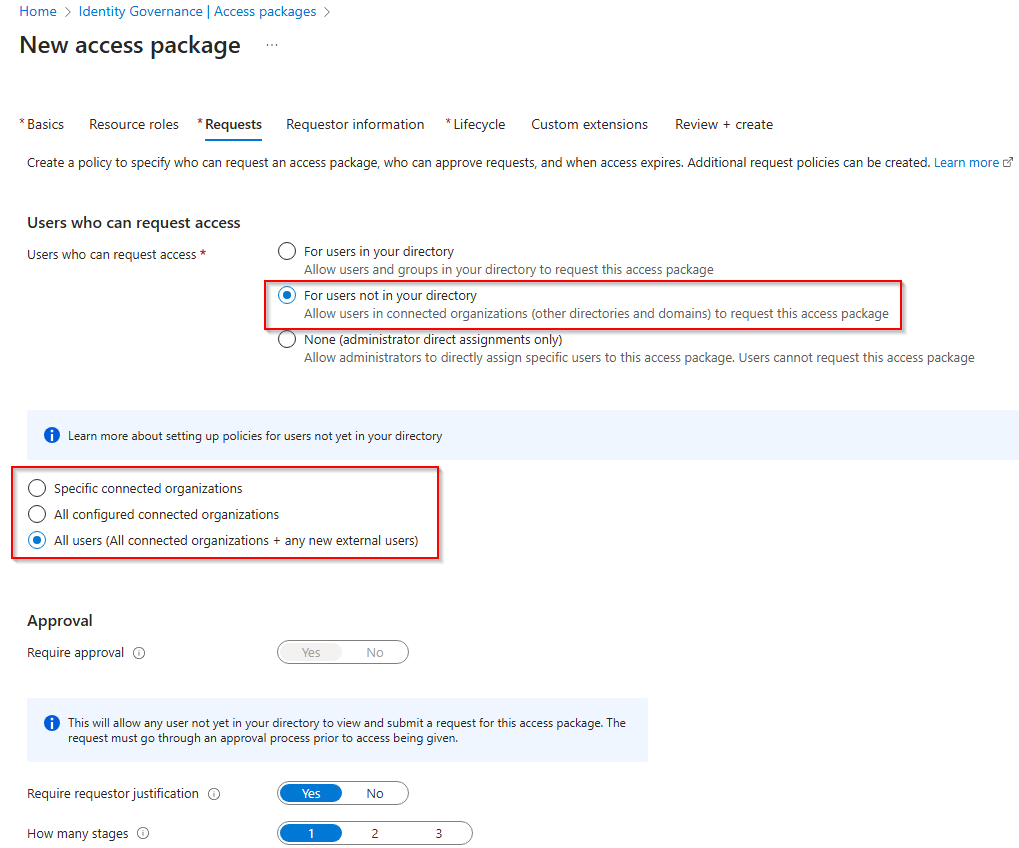
Movin on to Approvals where we need to consider who can approve the access to the team. When you select Users not in your directory and All users, approval is mandatory, so let’s configure it accordingly. We will require that the request justifies their request and only require one stage of approval. Here you can have up to three stages of approval if needed. You get to select an external sponsor, an internal sponsor or choose specific approvers.
I normally see that the team owners are specified as specific approvers, so I will use that in my example. Use the people picker to select your approvers.
You then specify a time period that the request stays open before it is dismissed by the system. This is the time frame that the approvers have to approve or deny a request. We also require the approver to justify the approval, this is good for audit purposes. There is a setting to automatically forward the request to alternate approvers if needed.
We also need to enable new requests.
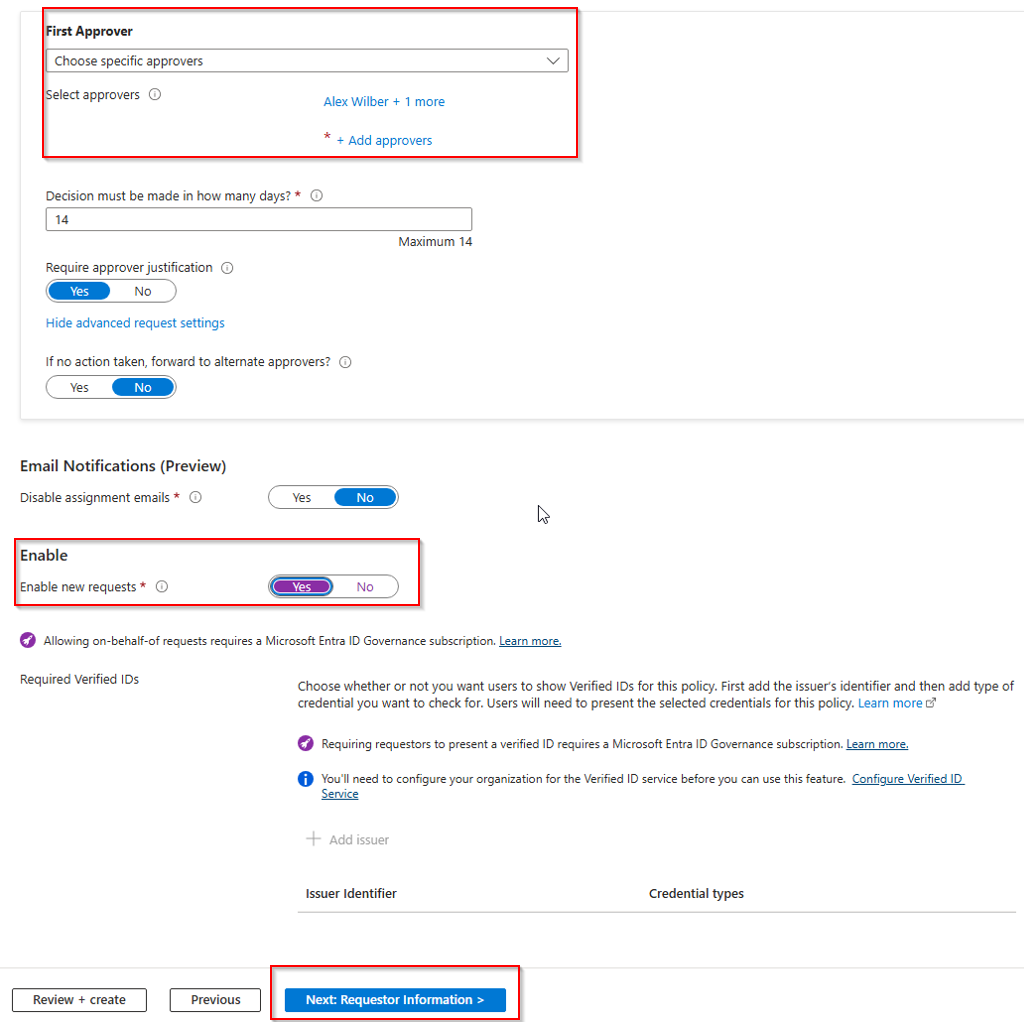
There are options to require Verified IDs if you need that extra added security. If not, move on to Requestor information.
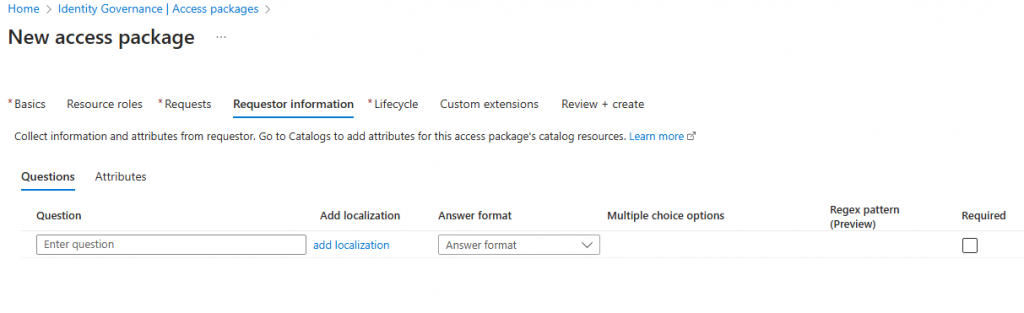
Here you can present the requestor with information or ask them to “accept” terms etc if you want. Play around with it if it is required. You can for instance present them with a statement and require them to enter “Yes” as a response. The Regex pattern is case sensitive so it requires that the requester actually reads and follows the instructions.
Moving on to Lifecycle we get to select for how long the access should be delegated and if there is a need for access reviews. There are numerous settings that you can play with. In this case, we delegate access for 365 days, with no option for the external guest to request prolongment. We also require that there is a quarterly access review of the external guests to make sure that we have the right access over time. We have selected specific reviewers that will get notified every three months. They have 25 days to complete the review process, and if they do not complete it, the guests will be removed from the team. If the guests have no other access to the tenant, their account in Entra ID will be disabled as well.

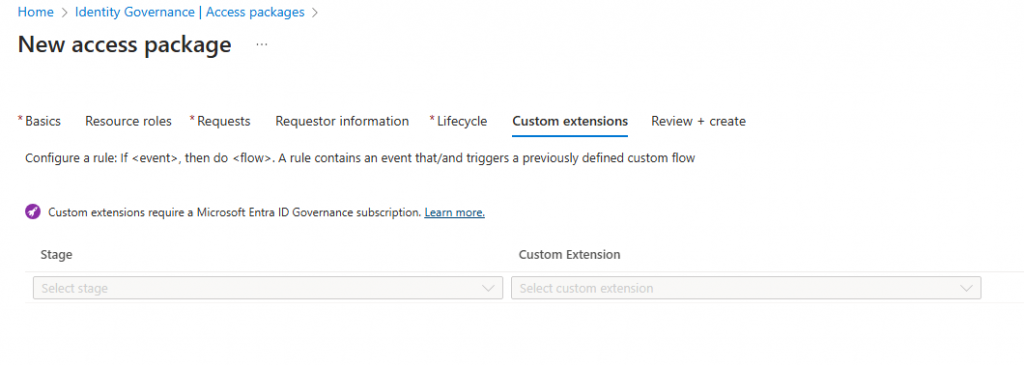
On the Custom extensions tab, you can configure more rules if needed.
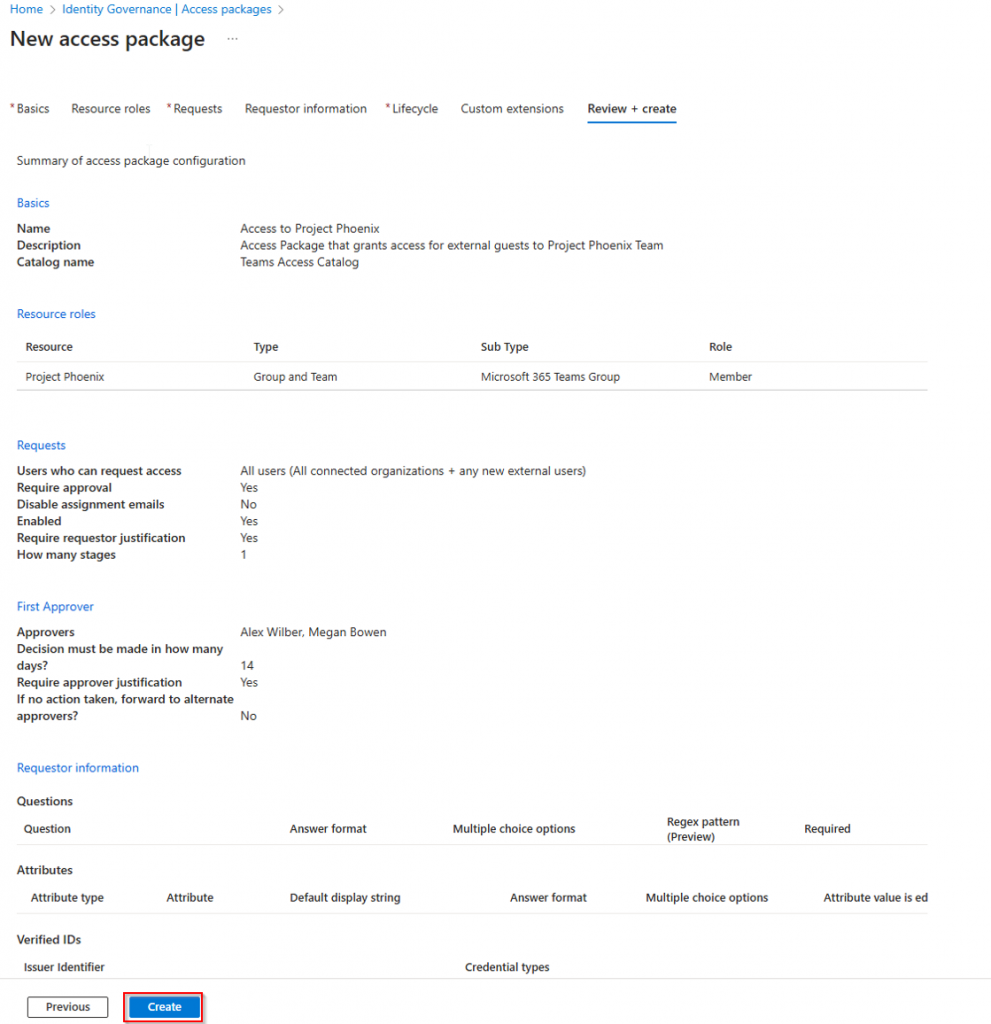
Review your setting and make sure everything is configured the way you want it, and then hit Create.
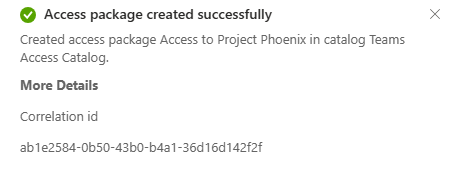
You will get a notification as soon as the package is created.
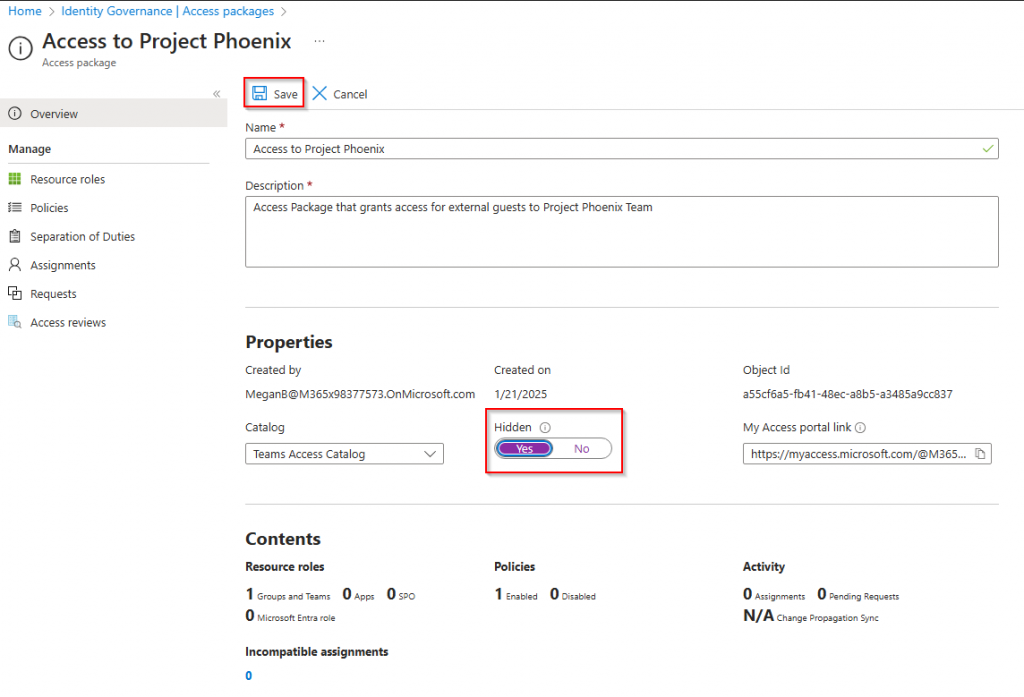
Back on the Access Packages page, you get an overview of your newly created packge. I normally recommend to hide the package from the catalog so that it is not showing on the My Access page. This is done by editing the package from this view.

Flip the switch to yes and save the package.
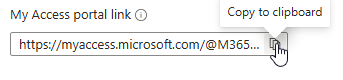
Then copy and send the link to any external party that needs to register to gain access to Project Phoenix.
That’s it! When the external party uses the link they will self-register for access to the Team. The appointed approvers will then get an email with approval instructions.


Thanks alot! I was just looking for something like this!
You are most welcome. If you have any questions, just let me know.
Does this require any extra license if you have E5?
The functionality requires Microsoft Entra ID Governance or Microsoft Entra Suite subscriptions for your users to fully operate but in many cases a Microsoft Entra ID P2 subscription is enough to get going. Microsoft has a great page that explains the licensing here: https://learn.microsoft.com/en-us/entra/id-governance/licensing-fundamentals